
Crochet Tips
By Halonia • For confident beginners
Once you have the basic stitches down, the thing that separates a homemade look from a polished, professional one is not talent. It is a handful of small finishing habits. These are the details that make a piece look clean, even, and intentional, the kind of finish that makes people ask if you sell your work. Here are nine of them, and none are hard to learn.
1. Weave in Your Ends the Right Way
Nothing gives away a rushed project like loose tails or a bulky knot. Instead of tying a knot, thread each end onto a yarn needle and weave it through several stitches in one direction, then back the other way to lock it. Trim close, and the end disappears completely into the fabric.
2. Keep Your Tension Consistent
Even tension is the quiet secret behind a professional look. Try to hold and feed your yarn the same way every time you sit down to work. If you take a long break mid project, do a few practice stitches first so your hands settle back into the same rhythm before you continue.
3. Block Your Finished Pieces
Blocking is the step most beginners skip, and it makes a dramatic difference on flat pieces like coasters, squares, and suncatchers. Gently dampen the piece, shape it to size, pin it, and let it dry. Curled edges relax, stitches even out, and the whole piece looks crisp and deliberate.
4. Learn the Invisible Decrease
For amigurumi and anything worked in the round, a regular decrease can leave small gaps and bumps. The invisible decrease works only through the front loops and creates a smooth, seamless surface. It is one simple technique that instantly makes little characters look store bought in the best way.
5. Change Colors Without a Visible Jump
When you switch colors, finish the last step of the final stitch in the old color using the new color. This little trick removes the awkward half stitch of mismatched color at the changeover, so your color lines stay clean and sharp instead of muddy.
6. Match Your Hook to Your Yarn
Every yarn label suggests a hook size, and it is worth following as a starting point. For amigurumi, going slightly smaller than the label recommends gives you tight stitches that hide the stuffing. Taking a moment to match hook and yarn keeps your fabric even and prevents unwanted holes.
7. Stuff Amigurumi Just Right
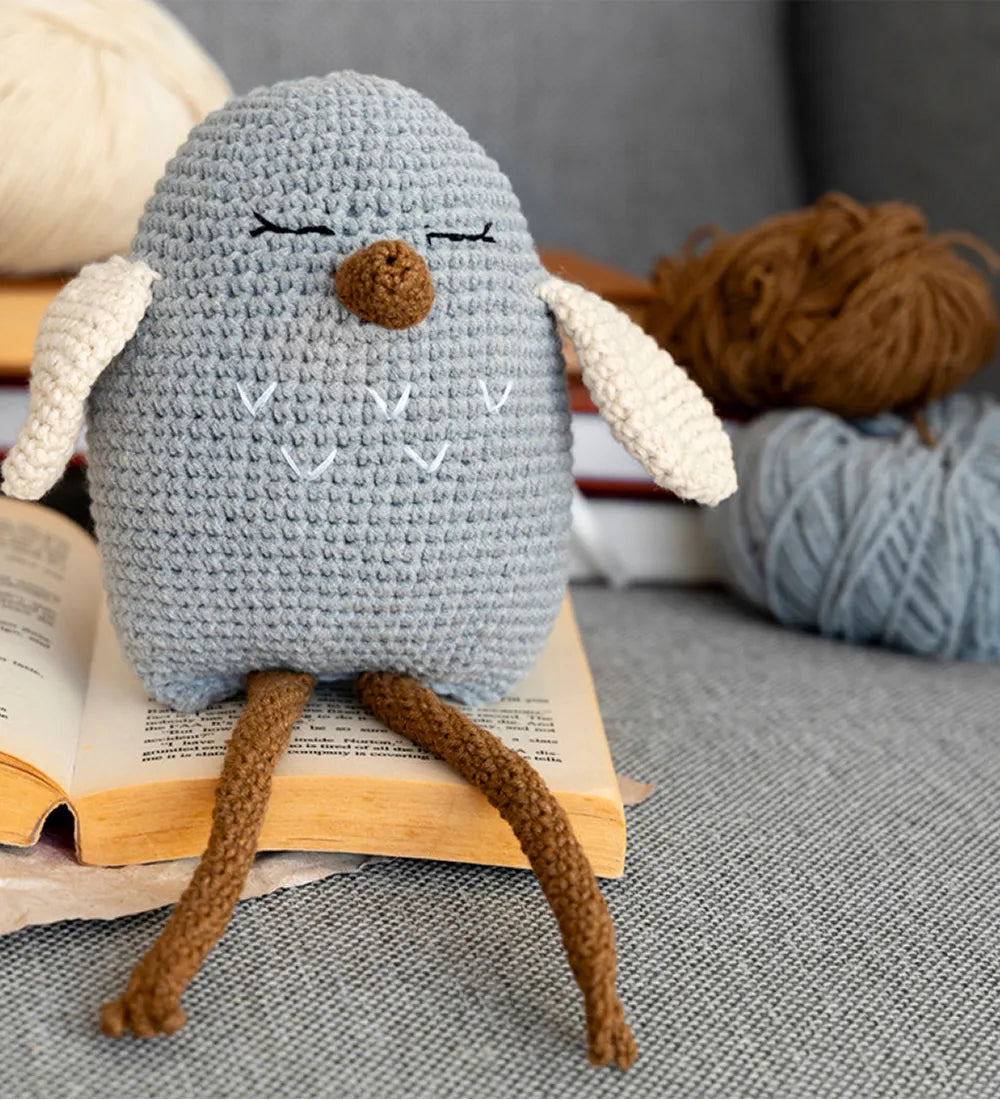
Under stuffing leaves a piece floppy and wrinkled, while over stuffing stretches the stitches until the filling shows through. Aim for firm but not hard, and add the stuffing gradually in small amounts so the shape stays smooth and rounded as you close it up.
8. Sew Your Seams With Care
When you join pieces together, use the same color yarn as the parts you are attaching, and take small, even stitches. Pin the pieces in place first so they stay symmetrical. Neat, invisible seams are often the single biggest difference between a beginner finish and a polished one.
9. Give It One Final Tidy-Up
Before you call a piece done, look it over in good light. Trim any stray fibers, tuck in any last ends, and gently reshape it with your hands. This final minute of care is small, but it is what makes a finished piece feel truly complete.
Put these tips to work
Great finishing habits shine brightest on a pattern worth your time. Every Halonia pattern is written clearly and checked stitch by stitch, so you can focus on making something beautiful.
None of these tips take much extra time, but together they transform how your work looks. Add them to your routine one by one, and your next finished piece will look like the work of someone who has been doing this for years.